How to Install Wordpress with Softaculous
Updated: November 27, 2023
What is Softaculous? Softaculous is a very popular auto-installer that makes installing web apps much easier. It's a commercial script library that automates the installation of commercial and open source web applications for a website.
Softaculous currently has over 400 apps that
could install an application with just a few clicks of button. There's no need for complicated and time-consuming application setup, Softaculous takes care of it all. Wordpress can be installed in just under a few minutes.
In this guide, we will show you how to install Wordpress with step-by-step instructions using Softaculous.
Step 1
Log into your cPanel Account.
Step 2
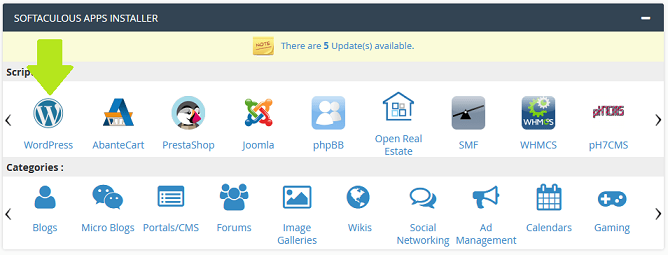
Scroll down to Softaculous Apps Installer and click on Wordpress icon.
Step 3
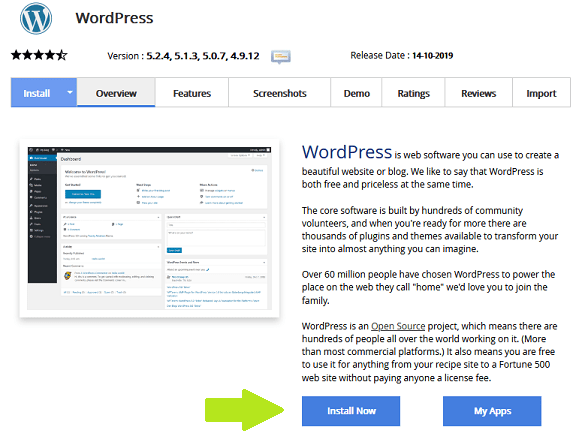
Once you have reached the Wordpress details screen, click Install Now.
Step 4
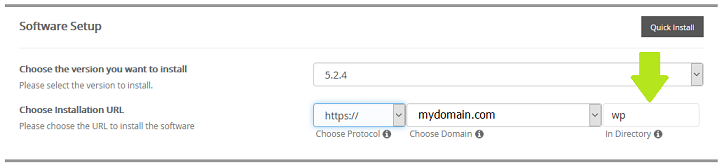
Software Setup
Choose the version you want to install:
From the drop-down menu, select the version of Wordpress.
The latest version is recommended. By default, Softaculous will install the latest version of Wordpress.
Choose Installation URL:
Choose Protocol (ex. http, https etc) from drop-down menu.
Choose Domain:
Next, choose the domain you wish to install WordPress from the drop-down menu.
In Directory:
In the field Directory field, key in the name of a directory to install.
For example, if you wish to install Wordpress on domain name example.com ,leave this field blank.
If you wish to install Wordpress on domain example.com/blog, type in blog.
If the directory doesn't exist, don't worry, it will be automatically created.
Step 5
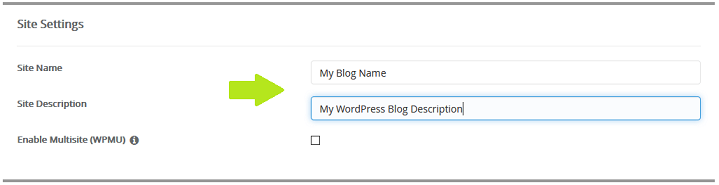
Site Settings
Site Name: Enter your website name in the form field.
Site Description: Enter your website description in the form field.
Enable Multisite (WPMU): This feature will Enable Multisite option for your WordPress blog.
Your server must support Apache mod_rewrite to use this feature.
Step 6
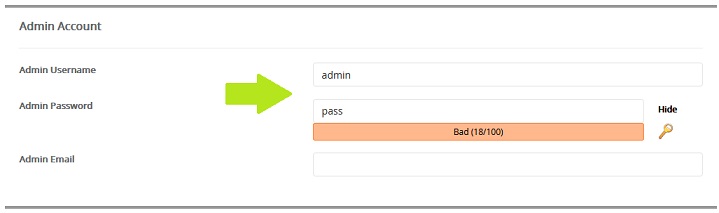
Admin Account
Admin Username: Enter a username.
Admin Password: Enter a password. Select the "Key" symbol to auto-generate password.
Admin Email: Enter your email address.
Step 7

Choose Language
Choose language from drop-down menu.
Step 8
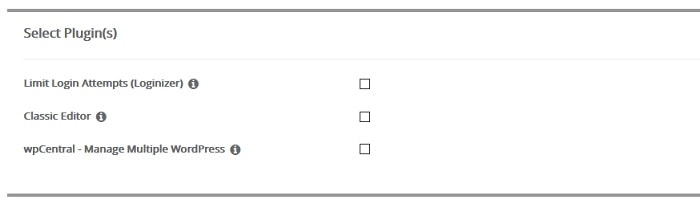
Select Plugin(s)
Limit Login Attempts (Loginizer)
Protect your site against bruteforce attacks by limiting the number of login attempts for your
WordPress installation. If selected, Loginizer plugin will be installed and activated with your installation.
Classic Editor:
Classic Editor restores the previous WordPress editor and the Edit Post screen and makes it possible
to use the plugins that extend it, add old-style meta boxes, or otherwise depend on the previous editor.
If selected classic-editor plugin will be installed and activated with your installation.
wpCentral - Manage Multiple WordPress:
Helps you to manage all your WordPress blogs from ONE dashboard
If selected, wpCentral plugin will be installed and activated with your installation.
Step 9
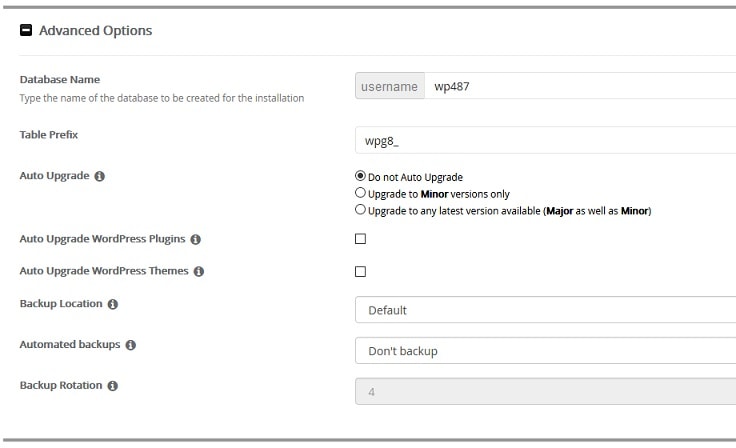
Advanced Options
Database Name:
Type the name of the database to be created for the installation.
Table Prefix:
Enter prefix name.
Auto Upgrade:
Select the automatic upgrade preference for this installation when a new version is available
Auto Upgrade WordPress Plugins:
If checked, all WordPress plugins installed for this installation will be automatically upgraded
to the latest version (every 24 hours).
Auto Upgrade WordPress Themes:
If checked, all WordPress themes for this installation will be automatically upgraded to the latest
version (every 24 hours).
Backup Location:
Choose the backup location to be used while backing up this installation.
Automated Backups:
Softaculous will take automated backups via CRON as per the frequency you select.
Backup Rotation:
If the backup rotation limit is reached Softaculous will delete the oldest backup for this installation
and create a new backup. The backups will utilize your space so choose the backup rotation as per
the space available on your server.
Step 10

Select Theme
Select a theme. If no theme is selected, Wordpress will install a default theme.
This could be updated after installation.
Finally, Click Install. The Wordpress installation will now begin.