How to Setup an Email Autoresponder
Updated: November 27, 2023
If you plan on being away from work or home, it's possible to setup an email autoresponder to automatically inform your contacts that you are currently away.
The cPanel email autoresponder allows you to create custom messages, and also the option to select starting and stopping dates.
In this guide, we will show you how to create an email autoresponder with cPanel.
Step 1
Log into your cPanel Account.
Step 2
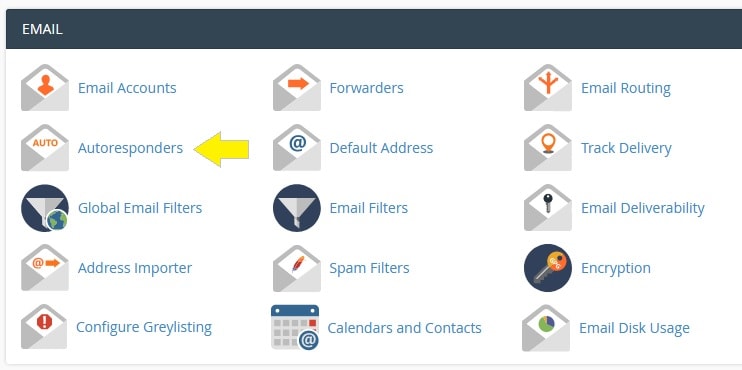
Navigate to Email section and click on the Autoresponders icon.
Step 3
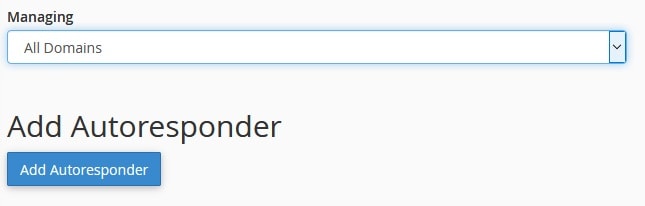
Select your domain from the drop-down menu. Click the Add Autoresponder button.
Step 4
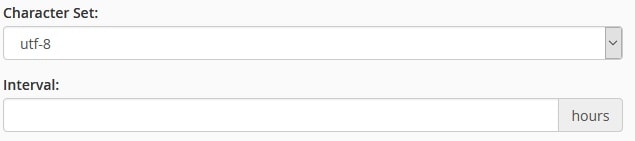
Select Character Set from the drop-down menu.
Add Interval in hours.
(The number of hours to wait between responses to the same email address,
or zero to always respond.)
Step 5
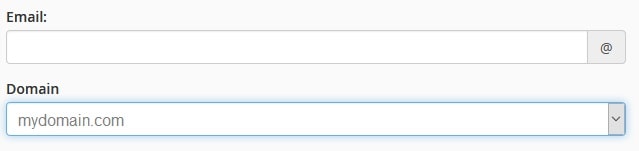
In the email field, add your email address. Example, if your email address is admin@mycompany.com,
add admin in the top field and select domain from drop-down menu.
Step 6
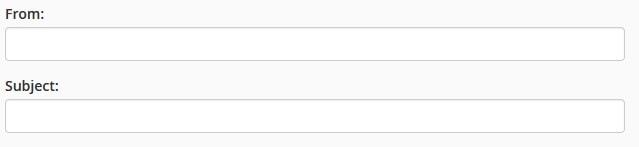
In the From field, enter the username to appear in the response.
In the Subject field, enter the subject to appear in the response.
Example, " I'm currently not available".
Step 7
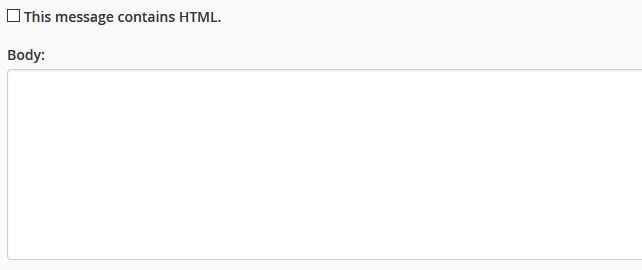
If the body of your email contains HTML, place a check in the box
In the Body form, enter the message that you would like to send.
Note: You can use the %subject%, %from%, and %email% tags in the body of the message
to represent information, such as the incoming email's sender or subject.
For example, if your body message includes: " Hello %from%, I'm currently away..", When "Mary"
emails you, it will read " Hello Mary, I'm currently away..".
Using the above tags will help you personalize the email response and is entirely optional.
Step 8
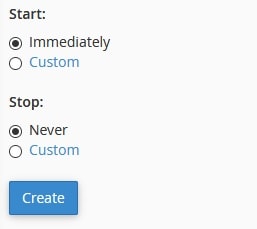
Select when to Start and Stop. You could enter a custom date.
Click Create when finished.