How to Install an SSL Certificate with cPanel
Updated: November 27, 2023
An SSL (Secure Sockets Layer) certificate is a digital certificate that authenticates the identity of a website and also encrypts information sent to the web server utilizing SSL technology. Any time an SSL certificate is used, the data becomes unreadable to everyone with the exception of the server you're sending the information to.
One of the essential components of online business is developing a trusted environment where potential customers feel comfortable in making online purchases. SSL certificates develop a foundation of trust simply by establishing a secure connection. To assure website visitors their connection is secure, web browsers provide specific visual cues which we call EV indicators, such as a green padlock to branded URL bar, however with Google Chrome, the green bar actually stopped being green in september 2018 with the release of Chrome 69, thus the company information remained. Since fall 2019, the green bar and company information has been removed from all major browsers, such as Google Chrome, Mozilla Firefox, and Microsoft Edge.
SSL certificates have a key pair: a public and a private key. These types of keys interact to establish an encrypted connection. The SSL certificate also contains what is called the "subject", which is the identity of the certificate/website owner.
In this guide, we will show you how to install an SSL Certificate in cPanel. If you do not have an SSL Certificate, we have them available here.
Step 1
Log into your cPanel Account.
Step 2
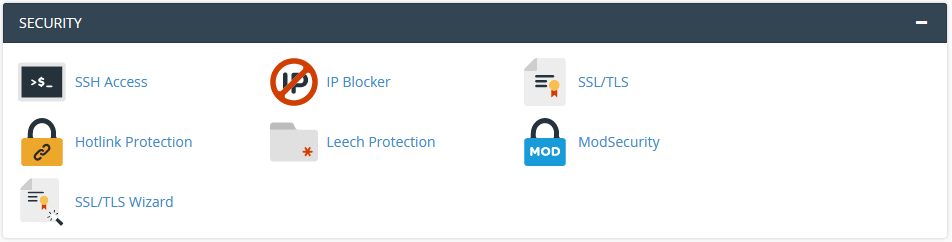
Navigate to Security and click on SSL/TLS icon.
Step 3
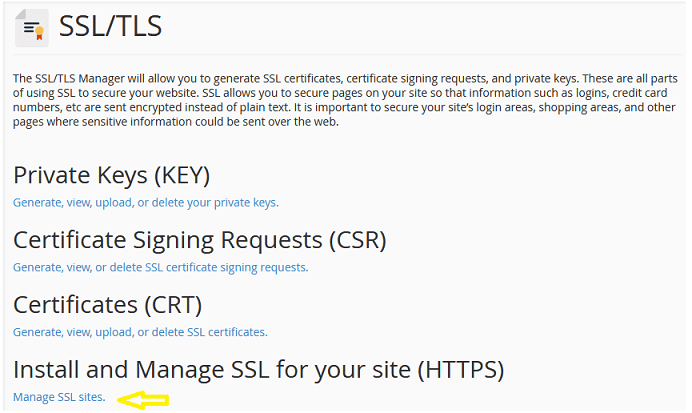
Click on Manage SSL Sites under Install and Manage SSL for your website (HTTPS) link.
Step 4
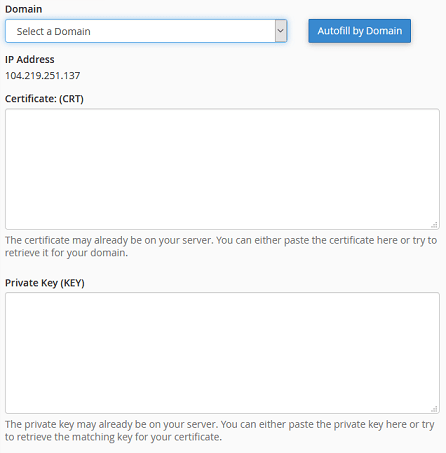
Select your domain name from the drop-down menu.
Copy the certificate code you received from the Certificate Authority including -----BEGIN
CERTIFICATE----- and -----END CERTIFICATE----- and paste it into the Certificate: (CRT)
field on the next page. The certificate files can be opened with the help of text editor on
your computer.
Click on the Autofill by Certificate button, which appears next to the certificate entered, and
the system will attempt to fetch the domain name and the private key. You may also choose
the domain from the drop-down list and manually enter the certificate and private key into
the corresponding boxes.
If the system fails to fetch the private key, you can locate it in the Private Keys (KEY) section
of the SSL/TLS Manager.
Please remember to include Begin/End headers and footers for the certificate and the key.
Step 5
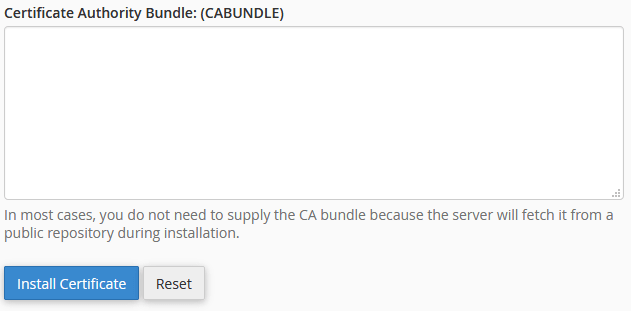
Copy and paste the chain of intermediate certificates (CA Bundle) into the box under Certificate
Authority Bundle (CABUNDLE).
Click on the Install Certificate button.
The SSL Certificate is now successfully installed.