How to Import and Export a Database with phpMyAdmin
Updated: November 27, 2023
phpMyAdmin is an essential tool when working with MySQL. phpMyAdmin allows the task of managing your MySQL databases much more easier and efficient, and it also helps you manage the available databases from just about anywhere.
Through phpMyAdmin, you're able to create, edit, back up, import, export, and also delete databases, along with managing database tables. With cPanel, you could import and export databases with phpMyAdmin.
This guide will show you step-by-step instructions on importing and exporting databases with cPanel in the Database section.
Import Database
Step 1
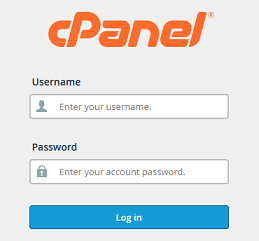
Log into your cPanel Account.
Step 2

Navigate to Databases section and click on phpMyAdmin icon.
Step 3
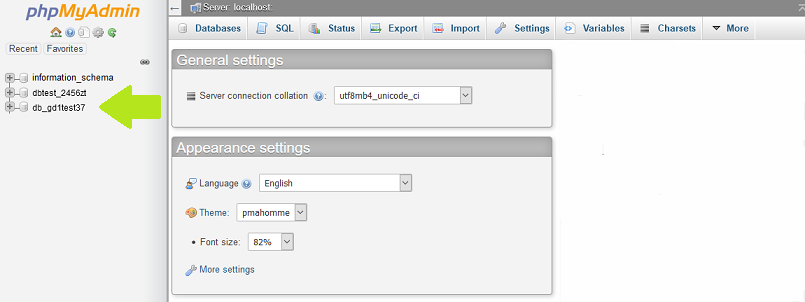
Select the database from the left panel that you would like to import the new database into.
Step 4
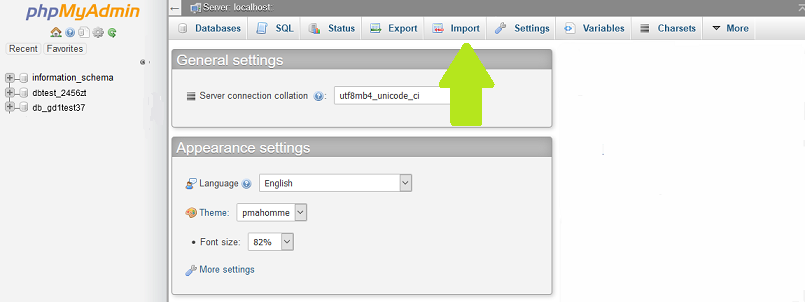
In the top navigation menu, select Import.
Step 5
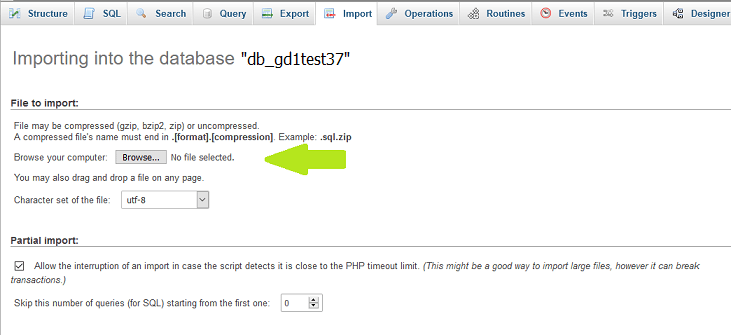
Click Browse and locate the .sql file from your computer.
Click Done. You will now see a message that the Database was successfully imported.
Export Database
Step 1

In cPanel, scroll down to Databases section and click on phpMyAdmin icon.
Step 2

Select the database from the left panel that you would like to export.
Step 3
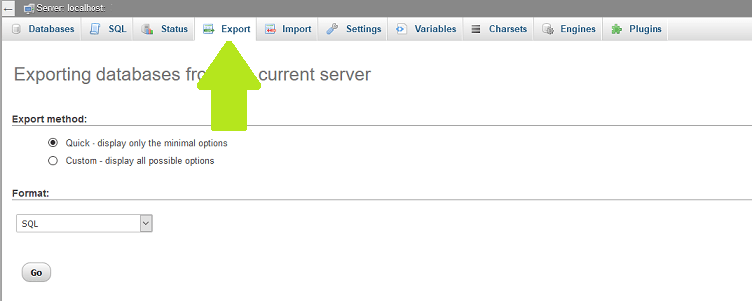
Click the Export tab at the top menu and select the Format with the drop-down menu.
Press Go and you will now be able to save the Database.
