How to Enable/Disable Wordpress Cron
Updated: November 27, 2023
WordPress utilizes a wp-cron.php file, found in the root directory of your Wordpress blog, as a virtual cron job. It's a scheduled job to automate processes such as creating scheduled posts, verifying plugin or theme updates, sending e-mail notifications and much more. Every time a website visitor opens your website, WordPress checks if there tends to be any kind of scheduled tasks to execute. In the event that the website traffic is low, this cron job does not affect the website overall performance much. Although, should the website traffic become high, checking for scheduled tasks each and every time, can certainly slow down the website performance and also cause resource overusage.
We will show you how to enable and disable the Wordpress cron job.
How to Disable Wordpress Cron
Step 1
Log into your cPanel Account.
Step 2

Scroll down to Files section and click on the File Manager icon.
Step 3
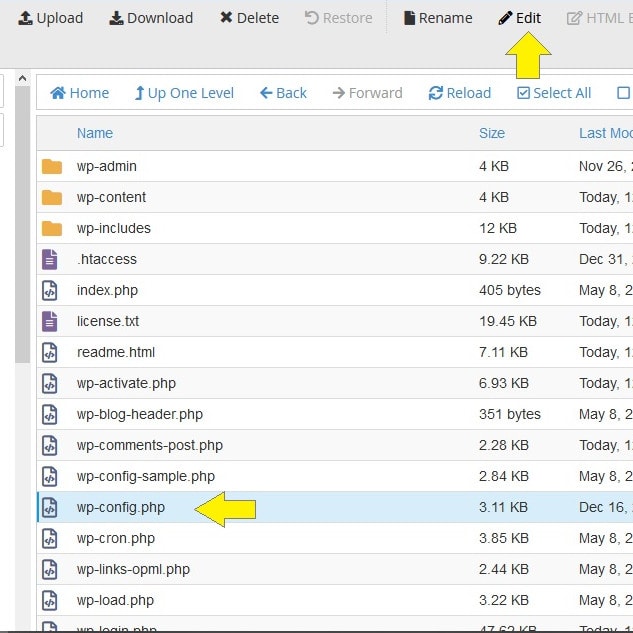
Navigate to the root folder of your domain. Select wp-config.php file and click Edit.
Step 4
Locate the line define('DB_COLLATE', '') and add the following code after that line:
define('DISABLE_WP_CRON', true);
Example:

Click Save when finished.
How to Enable Wordpress Cron
Step 1
To enable the cron, locate the line define('DB_COLLATE', '') and add the following code after that line:
define('DISABLE_WP_CRON', false);
Example:

Click Save when finished.