How to Set MX Records using the cPanel Zone Editor
Updated: November 27, 2023
cPanel manages your e-mail using its own mail server. However, you can modify Mail Exchanger (MX) DNS entries to route your web site's e-mail to other mail servers if necessary.
In this guide, we will show you how to Add and Edit MX Records in cPanel.
How to Add MX Records
Step 1
Log into your cPanel Account.
Step 2
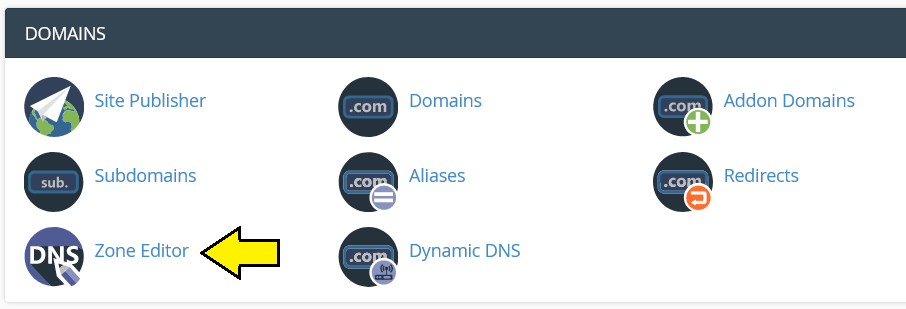
Navigate to the Domains section of cPanel and then click on Zone Editor.
Step 3

Select the domain where you need to change the MX records and then click on +MX Record.
Step 4
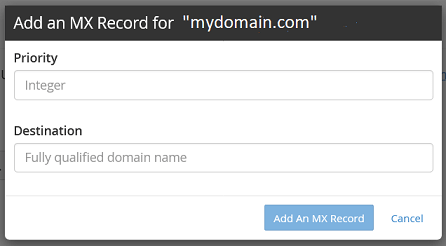
Enter the Priority and Destination settings into the
corresponding fields and Click on
Add an MX Record when completed.
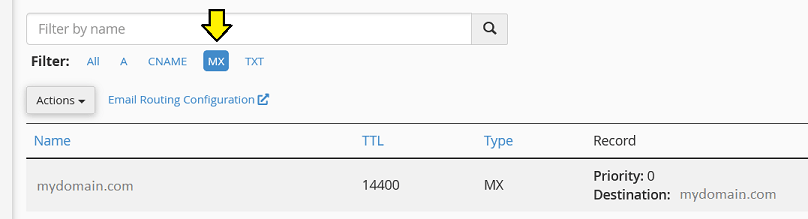
If you wish to review the changes to your MX records, go back to the main page of the
Zone Editor
and click on Manage. If you want to isolate just the MX records, click on
MX in the filter line.
How to Edit existing MX Records
Step 1
Log into your cPanel Account.
Step 2
Navigate to Domains and click on Zone Editor icon.
Step 3

Select the domain where you need to change the MX records and then click on Manage.
Step 4
Filter the records to show only the MX records by clicking on the Filter option labeled MX.
Step 5

Locate the record that you wish to change and click on Edit in order to make the necessary changes.
After making updates, click on the Save Record button to save your changes.