How to Create a Full cPanel Backup
Updated: November 27, 2023
The reason for a backup is to produce a copy of data that could be recovered in case of a primary data failure. Primary data failures is most likely the consequence of hardware or software failure, data corruption, or even a human-error event, such as a malicious attack (virus or malware), or accidental deletion of data. Having a copy of a backup will make it possible for data to be restored from a previous point in time to assist in recovering from an unexpected event.
Downloading a zipped copy of your entire website on a regular basis is highly recommended. When you backup your website, you have an extra copy of your information in case something goes wrong.
A complete full backup generates an archive of all of your websites files as well as configuration. You may use this file to move your account to a different server or to keep a local copy of your files.
The Backups menu in the cPanel-Files section allows you to generate backups of a full cPanel account, MySQL database, email filters and email forwarders.
In this guide, we will show you how to generate a full backup.
Step 1

Log into your cPanel Account.
Step 2
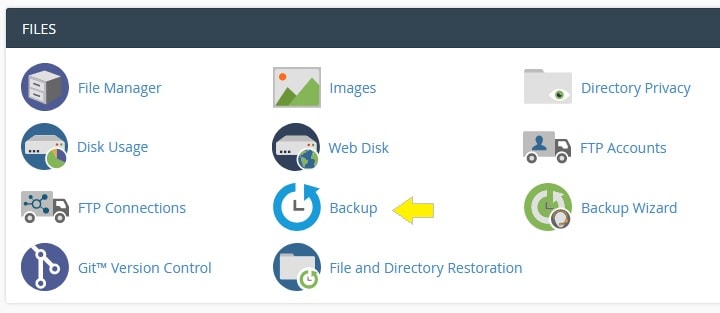
Navigate to Files section and click on the Backup icon.
Step 3
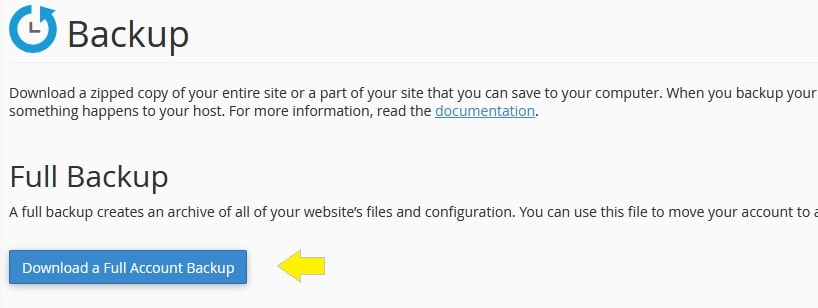
Click on the Download a Full Account Backup button.
Step 4
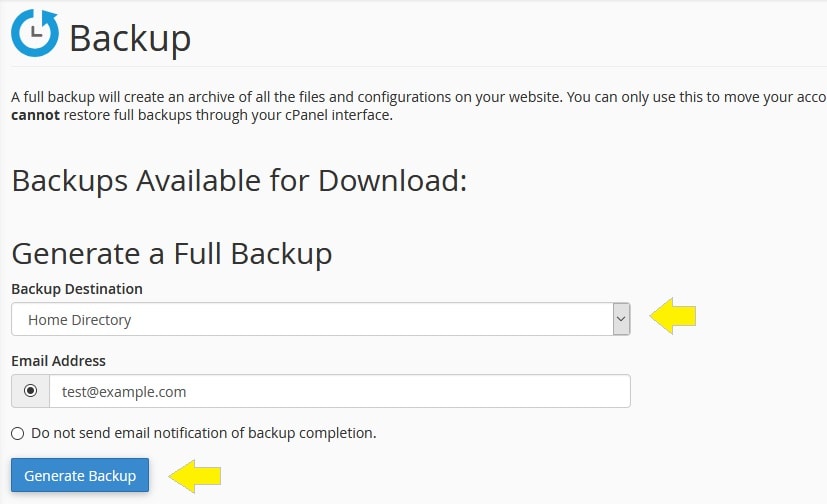
Backup Destination:
A full cPanel backup will be saved into your account home directory, by default.
You could change the Backup Destination by selecting the Target Location from the drop-down menu.
Email Address:
Enter an email address to send notification of backup completion (Optional), or you may choose not
to receive email notification.
Step 5
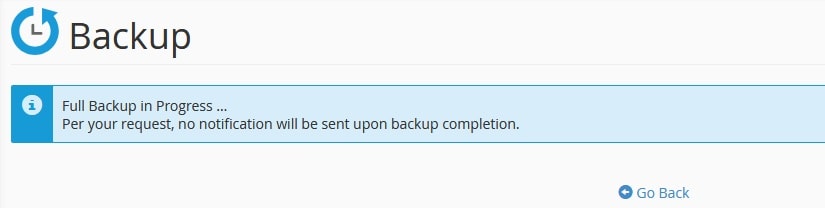
Your backup has now initiated and will require suficient time to complete the backup process.
Click Go Back to monitor the status of the generation process in real time.
Step 6
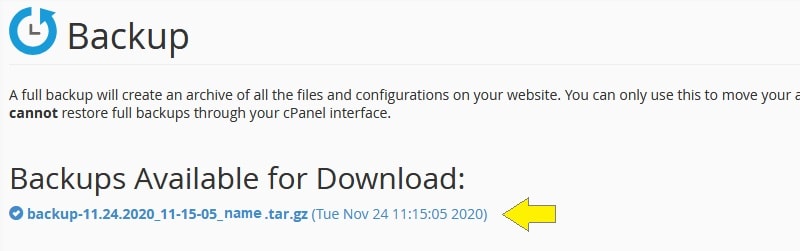
When the backup has completed, you will find a link with a blue check mark to indicate the backup
has fully completed.
Click the filename to begin download or navigate to the remote server to see if the backup is there.