How to setup Wordpress Hosting
This guide walks you through setting up WordPress Hosting using VirtFusion and Webuzo, providing clear, step-by-step instructions. Upon completion, you'll gain access to Softaculous for setting up your WordPress website. Expect to complete the setup in just 15 to 25 minutes with this detailed tutorial.
Step 1
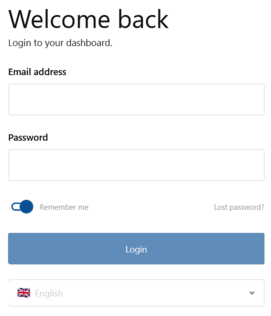
Log into the VirtFusion dashboard
You could login directly to the dashboard from the following link: Dashboard Login
Alternatively, you could access the Dashboard from the Client Area.
Select Services > Product/Service > Open Control Panel.
Step 2

Select Manage
Click "Manage" on the same line as "Awaiting Setup..".
Step 3
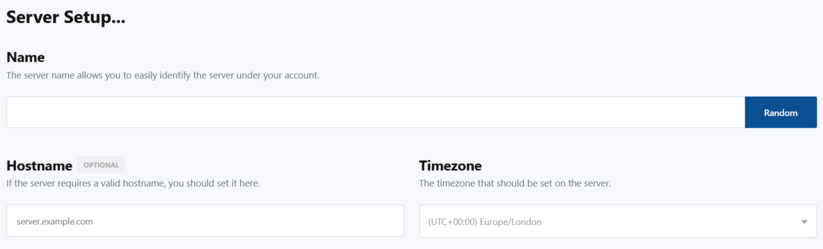
Enter Name and Hostname
Enter a Name. You could also click the "Random" button to generate a server name.
Enter a Hostname.This is optional, however you will need at least a Name or Hostname.
Select Timezone from the drop-down menu.
Step 4
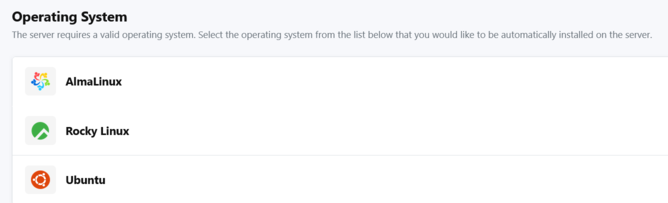
Select Operating System
Click on the available operating systems and the menu will expand. Then again, select an operating system.
Currently, we have available AlmaLinux 9, RockyLinux 8, and Ubuntu 22.04.
All are preinstalled with Webuzo, Softaculous and LAMP stack.
Step 5

Click Install
Click the link at the bottom to initiate the operating system setup.
Without setting up keys, a password will be sent to access the server via SSH.
You may setup SSH keys now or at a later time.
Step 6
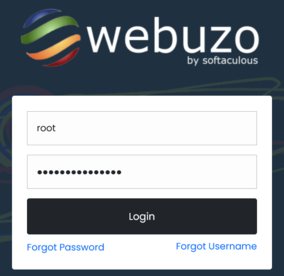
Access Webuzo Admin Panel
The next step is to access the Webuzo Admin panel. The URL should look like this:
http://xx.xx.xxx.xxx:2004
Replace xx.xx.xxx.xxx with the actual IP address.
At the end, be sure to include the port number ":2004".
Step 7 - Final
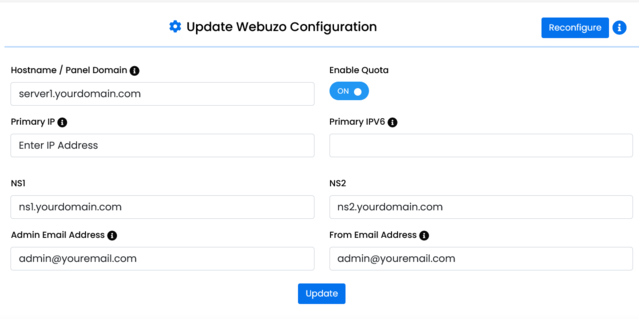
Webuzo Configuraion
Next, we will need to setup the Webuzo Configuration. Select Settings > Panel Config from the side menu bar.
Hostname/Panel Domain - Enter Hostname (server1.example.com)
Primary IP - This should automatically autofill. If not, enter IP address.
ns1/ns2 - Enter nameservers (ns1.example.com, ns2.example.com).
Admin/From Email address - Enter email addresses.
Click Update - The configuration is now complete.
Completed
Wordpress Hosting setup is now completed.
You may now access Softaculous and install Wordpress.